Sunday, 28 February 2016

ASL & Spanish Civil War

A Spanish Civil War Scenario
 Decided to give my ideas of using Advanced Squad Leader with miniatures , this time it was a Spanish Civil War Engagement where the Nationalists had to take the town held by an International brigade and some local militia
Using ASL Rules modified for figures

Each infantry stand = 2 counters but act as 1 counter 
1” = 1 Hex

The Nationalist have to secure the town bridge and the river was only crossable by railway bridge or road bridge in town

I put some flavour into the game by not allowing some leaders to effect firepower dice rolls

i decided that some of the the militia units  had elected their leaders so that person would have been charismatic but not that good in combat

Nationalist Forces

8-1 leader (cannot effect firepower)
2 units 3-4-7 Falange volunteers 
2 units 4-4-7 Falange volunteers 

8-1 leader (cannot effect firepower)
4 units 4-4-8 Carlist Requetés

8-1 Leader
Mounted Infantry
4-5-8 Spanish Foreign Legion

Artillery piece Cannone da 65/17: with its own crew


Republican

9-2 leader
2 units 4-4-7 (1st line) International Brigades 1 with MMG 1 with light mortar 

8-1 leader (cannot effect firepower)
3 units 3-3-6  Local Militia 


Armoured car with MMG

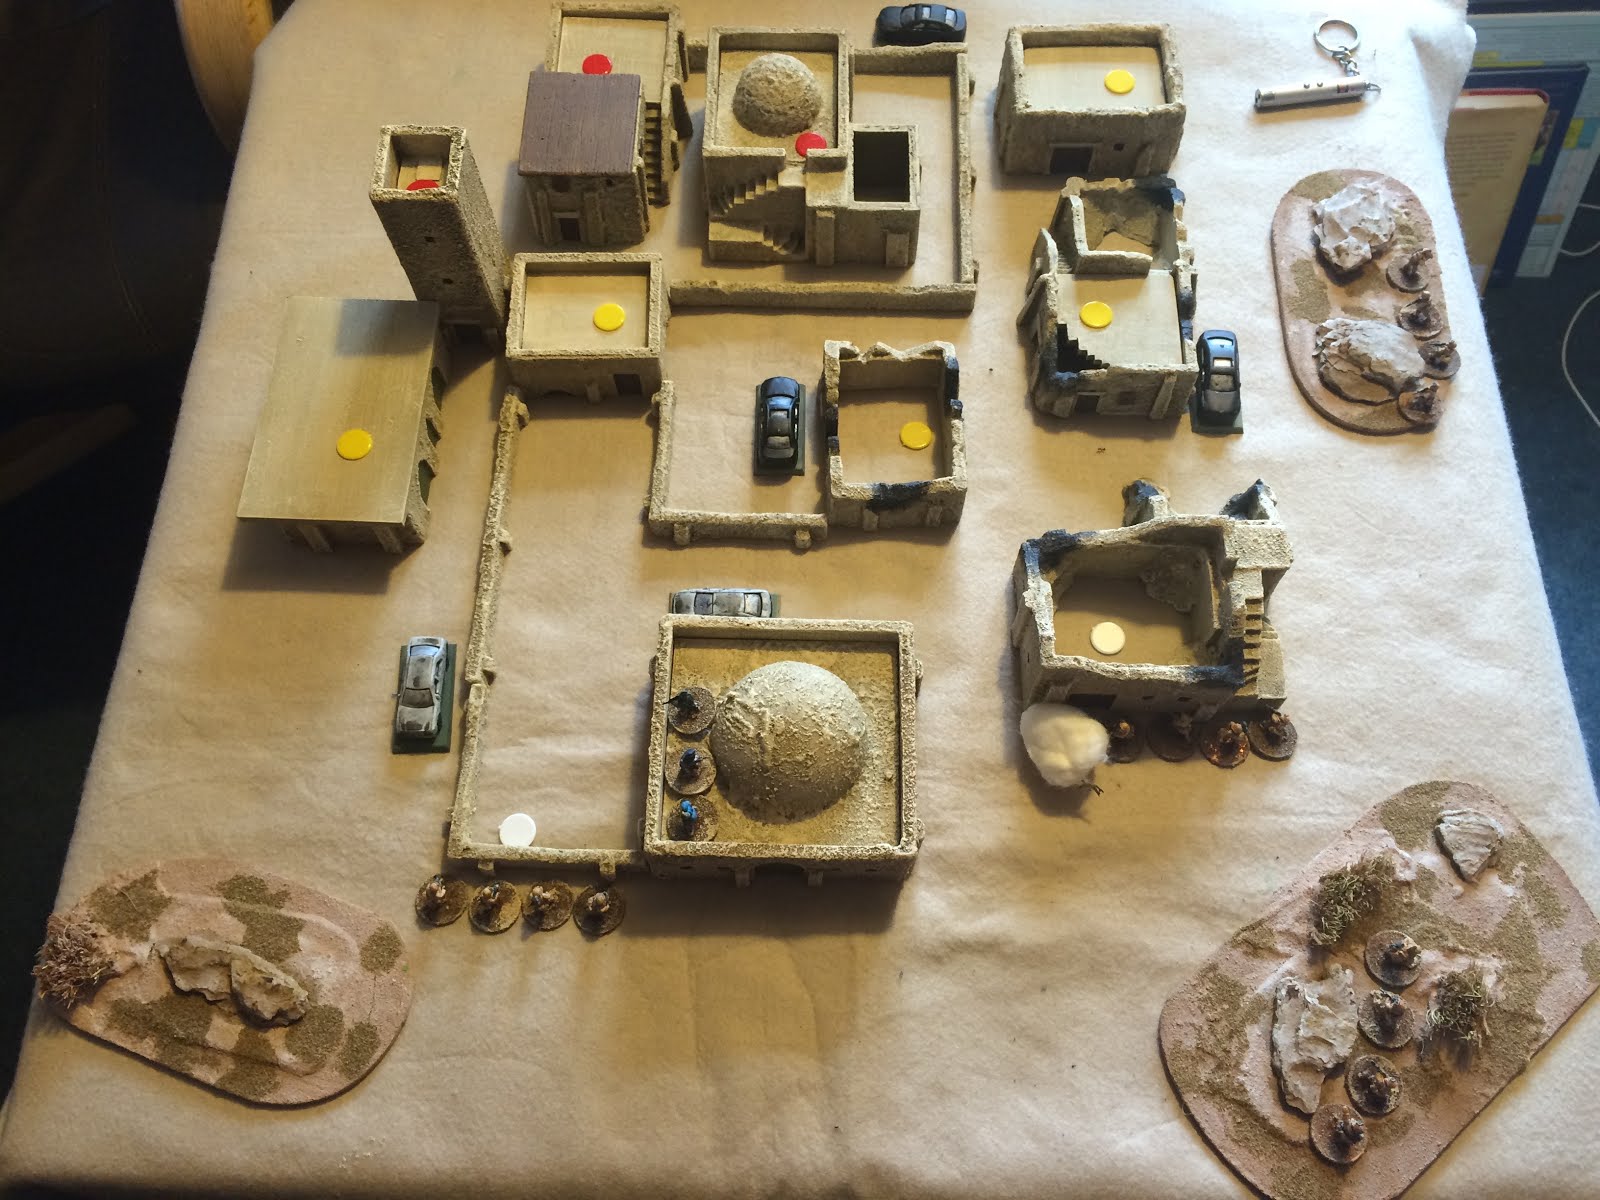
The buildings were constructed out of card , i found some nice pictures on the net , the roads were made with strips of fine emery paper so no painting needed

Buildings


The Game
All woods are considered orchards and the cornfields are giving cover , buildings were classed as wooden


Setup

The Republicans are holding the town , The Nationalists are advancing from the bottom the picture


Turn 1
The Nationalists advance after their artillery cause damage on the Republican militia


Turn 2
The Advance Continues

Turn 3
The Republicans send out their armoured car to try and take out the enemy artillery which is causing some heartache for the militia


Turn 4
Opps
the lucky shot form a direct fired artillery round disposes of the lone armoured car
This seamed to be one of the battles turning points

Turn 5
The advance continues and the Spanish foreign legion cavalry make it to the outskirts of the town after suffering from some irregular militia fire which the cavalry brush off


Turn 6
The cavalry charge and destroy the militia while the rest of the nationalists advance


Turn 7
the militia side of the town has fallen and the independent brigade thinks better of it than defend a losing position , this brigade did do well in turning back the assault by the Falange & Carlist but it was too late

Aftermath
i think the system works well for any size of engagement , especially if you put some flavour in the game. I had looked at other sets before i used ASL
Ii think i will need to redo my Russian Civil War on the same base sizes

Sunday, 21 February 2016

A Vasl Game - Going to Church

A vasl Game - Going to Church

This week i managed to find a guy called Martin who helped me understand the rudiments of using a online program called Vassal which was use to play a game of advanced squad leader with counters online , voice was handled via skype.

years ago i had ASL but sold it due to the fact that this program was not available and had no one to help me with the rules. However i managed to find a second hand copy of the ASL #3 set and bought the 2nd edition paper back rules.

well during the week we chose a scenario , setup the forces and went to it at 1pm on saterday , the game lasted for about 3 hours with 6 turns with with i had to secure the church. The pictures are from what i can remember as i didn't take pictures during the game but suffice to say that on the first turn my mortar ran out of smoke , my dice rolls were appealing when it mattered and were good when it did not , shame i can't throw those dice out the window.

Well here are the pictures showing roughly what happened


Setup ( the river does not exist )


Turn 1
Advance around the church taking cover where possible 


Turn 2
My heavy machine gun helping to keep the germans heads down in the church


Turn 3
the first glorious failed attempt at throwing a demo charge 


Turn 4
Had another go with the demo charge , this time it did go off but only caused a pin result


Turn 5
the engineers followed up the demo charge with a charge of their own


Turn 6
Last turn and i poured everything in in a last ditched stand to take the church

the victory conditions were that there must be no unbroken germans in the church at any pint during the game

Aftermath
Well my mortar proved appealing throughout the game mainly due to my abysmal dice rolls
my other troops faired reasonably well and i felt the game was quite enjoyable especially as this was with an actual opponent who knew the rules very well.

i think the scenarios was a good learning curve as it made me as the attacker try to plan my advances and only to be let down by the dice ( here i go again blaming the dice )

well would i play this again , yes i would and in fact i have another game planned

Sunday, 14 February 2016

ASL with Miniatures

ASL "Tretten in Flames"
I had a copy of Advanced Squad Leader many years ago but sold it all , far too many counters and the rules were very daunting ,however I picked up a second hand copy of the ASLSK #3 and after some reading and figuring out how i was going to play this solo , well i found a nice scenario called "Tretten in Flames" . After looking at the map and a further look at google earth i decided that the mapboard used was too different to the battle so decided to convert this game to a miniatures type.

so this is what happened , i made some counters and stuck some 6mm GHQ figures on them , gave those counters some tables like squad 1 , leader 2 , LMG etc for both sides , laid out some terrain and used that. i did not use hexes but measured in inches for each hex and stipulated that all units in a "hex area" must be touching each other , if a unit was in an adjacent hex it must be positioned further than 1/2 inch and up to 1 inch away , otherwise it would be in another area entirely  , i used the rules as written but i bet i missed loads of stuff and got lots of rules wrong but that was for both sides

Well here are the pictures and battle report

Setup From the German side
Setup From the British Side
Germans advanced with artillery and mortar Support with the ski troops force marching through the woods at the top of the table

German artillery did a good job of neutralising the British next to the river before assaulting the area

The German Ski troops exit out of the woods and attack the British in the flank

More Fire From the Germans allowing them to take the positions without too much trouble

By the end of turn 4 of a 6 turn game The germans were in control of half the town and with only a few British squads left unbroken i called it a day with a decisive german victory

Aftermath
Even though ASL is a bit daunting with regard to the number of rules i think it went ok and i know that i will be having another go with this concept , I do think it looks nicer with figures and terrain than maps and cardboard counters


Sunday, 7 February 2016

d'Artagnan gets his oats

Well it took me a week of painting , notably some Redoubt Miniatures musketeers , these i have had in my lead pile for a few years and together with a terraclips building set I went about creating a three musketeers scenario. The benches were made by printing out some wooden planks and glueing them to cardboard by the way

This I thought wold be slightly different as i gave each protagonist a goal of their own and just let the story unfold. here are the goodies and baddies

The Cardinal and his gang

The Queen and her entourage 

i used about 2/3 res of the terra clips set to lay out a nice building , though this did take a while as i kept designing the building as i went which was faille as it took me over 2 hours to come up with something i liked , should have planed it first

the rules used were an old set called all for one , effectively each model has 4 stats which are initiative,Dexterity , Strength , and up to 3 weapon skills , each of these range from 1-6 and together with a roll of a 1d6 + a relevant stat + the odd modifier determines the result.

A figure may move or do an action which may meen a die roll and if it fails something else may happen , bit like an old school D&D game

I now realised at the end of turn one that i had put too much on the table  and each figures actions together with its opponents reactions , well lets just say the turn took about an hour , so note to self don't put too many figures on the table

anyway here are a selection of pictures from the game


Setup


Turn 1


Turn 2


Turn 4


Turn 5


Aftermath

I thought about getting the osprey en guarde rules but found the other set so went with that

so next time i play this it will be with a lot less figures but generally it was interesting to see this system in operation and I might do something similar with my Sinbad and the Arabian nights set that I have ( by the way my 10mm acw needs to get back on the painting table )

Sunday, 31 January 2016

Insurgents with Force on Force

For this weeks game and while still painting my 10 mm ACW , i decided to have a go with force on force , Firstly i setup some threat points as i did not want to know where the enemy was , effectively there were white , yellow and red threat areas , i rolled a number of d6 needing a 5+ for there to be something that would attack the regular forces , if there was a Double 5 rolled then that would indicate an IED , a double 6 a sniper , the dice did come up with an IED in the first building that was entered , and a sniper in the tower.

The casualties were 4 Regulars KIA/Wounded and 20 Insurgents KIA/Wounded which on the whole was quite an expensive victory for the Regulars

Then randomly chose which threat point the insurgents would fire from , if this was a red spot there would be 1d6+1 , Yellow 1d4+1 , White 1d2+1 insurgents

Here Are the pictures

Turn One
Turn Two
Turn Three
Turn Four
Turn Five
Turn Six
Turn Seven
Turn Eight
Turn Nine

Aftermath
i have played Force on Force before but that was with a human opponent  , playing this solo needed some extra thought on how the run the other side which i think did work quite well as at some points during the game a charge across open ground by the regulars resulted in that squad almost being wiped out , but a lucky morale save meant that the managed to make it to cover

the Sniper in the tower did account for one of the regular casualties before the sniper had every bit of fire directed at it for a complete turn

Sunday, 24 January 2016

2nd Battle of Gaza

This weeks game was another use of a computer set of rules , this time it was Desert Column , by computer strategies  , this was a cut down and part of a battle with all the preliminary bombardment done before the attack.

I was going to do some American Civil War but the figures are still on the painting table.

If anyone would like to request a game for me to play and see how that solo's i would be interested to hear any suggestions.

I increased the ground scale to 1" = 100 yds , the turks were onto of a long hill with some minor defences while the British had some soft cover to advance through which i did not depict on the table . there were areas of broken ground which hindered "His Majesties Land Ship Coy" in its advance to the turkish lines.

anyway to the photos

 Setup
Turn one
The advance  , an assault detachment of infantry , cavalry and a tank move up the right flank.
Turn two
The advance continues.
Turn three
the start of the attack on the right flank.
Turn four
The british form skirmish order and keep the heads of the turks down while the main assault on the right flank goes in.
End of Turn Five
the assault pulverised the turks who surrendered and the other turkish units on the hill dutifully pulled back , the British unit on the left was stopped from attacking due to some rather good artillery fire from the turks.

At this point I considered the battle over with the British losing 5-6% casualties and the turks loosing 22-24% casualties.

the British had about 5000 veteran men while the turks 2500 average men but did have more cover and up hill.

Aftermath
this was a rather quick game as i am getting used to the system , on the whole it took just over an hour to fight.
what i do like is the lack of war-game clutter , no markers , chits etc , all the forces were 10mm Pendraken

Sunday, 17 January 2016

South America with "Iron Duke"

This was a first playlets with some new 6mm bacchus forces using a set of computer rules called "Iron Duke" from http://computerstrategies.bigpondhosting.com , I ran the software on my mac using wine which worked flawlessly ,  i found the armies easy to setup and the orders of battle easy as well , i got a little confused with regards to scale and inputing distances  but after a few tries i managed to work it out to make the battle feel right

So to the report , the scenario was taken from the liberators! supplement 1 book

Setup
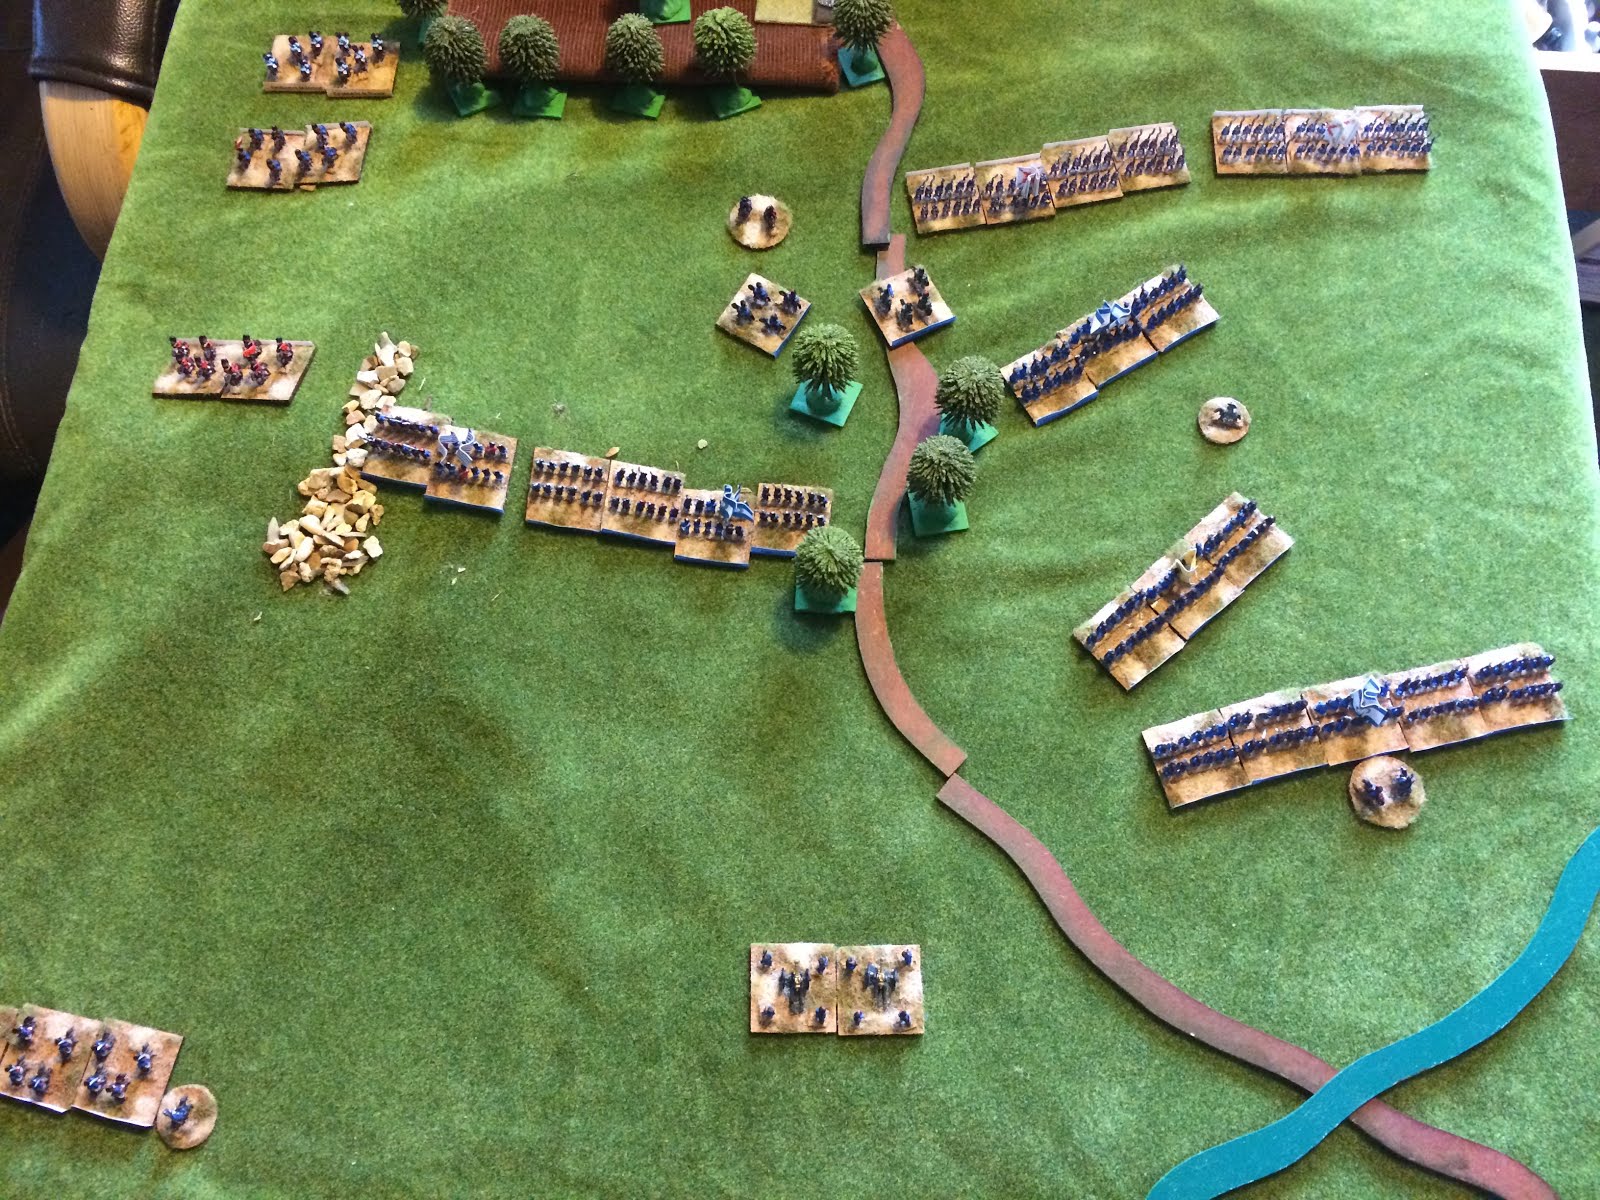
Overhead view and View from the Patriot central position
Turn 1 , the Patriots advance on the right and a brief cavalry charge on the left
Turn 2 , both cavalry units retire to rest and the Patriot infantry advances
Turn 3 , the Royalist army fails to respond , their commander having an off day , the Patriot cavalry on the right charges a unit of light infantry in the woods
Turn 4 , the Patriots take the hill on the left but pull back on the right due to some intensive fire from the Royalist Infantry though the Royalist cavalry thinks better of it an decides to retire
Turn 5, The Patriots push forward
Turn 6 , Whoops a order to charge on the Patriot right results in some confusion in the ranks but the Patriot left continues the advance and with the centre Patriot cavalry bursting through the woods and catching the royalist guns and the remaining Royalist units in the rear
Turn 7, End of game , with the Royalist army now in full rout and the Patriots managing to rally their forces , A win result for the Patriots

Aftermath
the game took a little over 2 hours to fight and i can say that i found the system easy to use and i could not blame the dice this time.
What i did like about the system is that when units were selected on the program it brought up a list of the units names which i prefer as i feel it allows the forces involved to have a little character.

I did try this battle first with carnage and glory 2 however i did find that that system was a little more difficult to use as i had to refer to a unit by number which i felt slowed the game down a little , also i found the range of options a little less than the "Iron duke" set