Sunday 31 January 2016

Insurgents with Force on Force

For this weeks game and while still painting my 10 mm ACW , i decided to have a go with force on force , Firstly i setup some threat points as i did not want to know where the enemy was , effectively there were white , yellow and red threat areas , i rolled a number of d6 needing a 5+ for there to be something that would attack the regular forces , if there was a Double 5 rolled then that would indicate an IED , a double 6 a sniper , the dice did come up with an IED in the first building that was entered , and a sniper in the tower.

The casualties were 4 Regulars KIA/Wounded and 20 Insurgents KIA/Wounded which on the whole was quite an expensive victory for the Regulars

Then randomly chose which threat point the insurgents would fire from , if this was a red spot there would be 1d6+1 , Yellow 1d4+1 , White 1d2+1 insurgents

Here Are the pictures

Turn One
Turn Two
Turn Three
Turn Four
Turn Five
Turn Six
Turn Seven
Turn Eight
Turn Nine

Aftermath
i have played Force on Force before but that was with a human opponent  , playing this solo needed some extra thought on how the run the other side which i think did work quite well as at some points during the game a charge across open ground by the regulars resulted in that squad almost being wiped out , but a lucky morale save meant that the managed to make it to cover

the Sniper in the tower did account for one of the regular casualties before the sniper had every bit of fire directed at it for a complete turn

Sunday 24 January 2016

2nd Battle of Gaza

This weeks game was another use of a computer set of rules , this time it was Desert Column , by computer strategies  , this was a cut down and part of a battle with all the preliminary bombardment done before the attack.

I was going to do some American Civil War but the figures are still on the painting table.

If anyone would like to request a game for me to play and see how that solo's i would be interested to hear any suggestions.

I increased the ground scale to 1" = 100 yds , the turks were onto of a long hill with some minor defences while the British had some soft cover to advance through which i did not depict on the table . there were areas of broken ground which hindered "His Majesties Land Ship Coy" in its advance to the turkish lines.

anyway to the photos

 Setup
Turn one
The advance  , an assault detachment of infantry , cavalry and a tank move up the right flank.
Turn two
The advance continues.
Turn three
the start of the attack on the right flank.
Turn four
The british form skirmish order and keep the heads of the turks down while the main assault on the right flank goes in.
End of Turn Five
the assault pulverised the turks who surrendered and the other turkish units on the hill dutifully pulled back , the British unit on the left was stopped from attacking due to some rather good artillery fire from the turks.

At this point I considered the battle over with the British losing 5-6% casualties and the turks loosing 22-24% casualties.

the British had about 5000 veteran men while the turks 2500 average men but did have more cover and up hill.

Aftermath
this was a rather quick game as i am getting used to the system , on the whole it took just over an hour to fight.
what i do like is the lack of war-game clutter , no markers , chits etc , all the forces were 10mm Pendraken

Sunday 17 January 2016

South America with "Iron Duke"

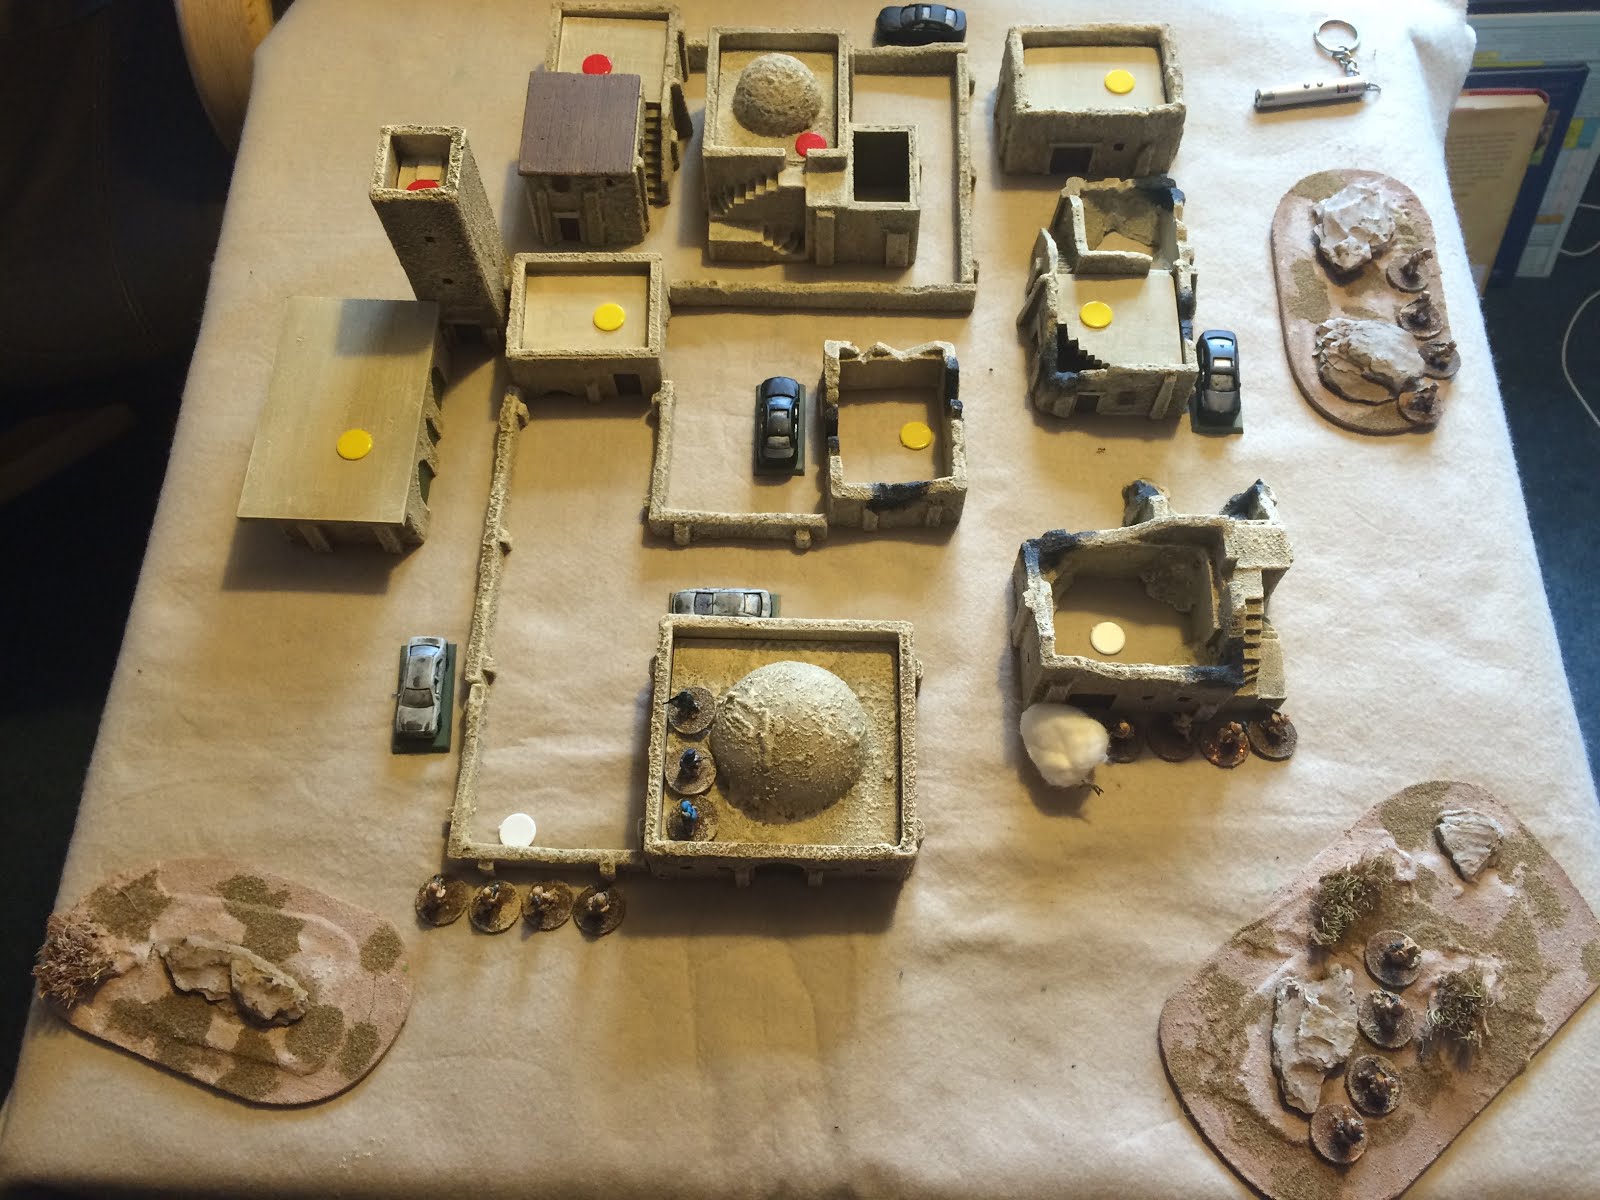
This was a first playlets with some new 6mm bacchus forces using a set of computer rules called "Iron Duke" from http://computerstrategies.bigpondhosting.com , I ran the software on my mac using wine which worked flawlessly ,  i found the armies easy to setup and the orders of battle easy as well , i got a little confused with regards to scale and inputing distances  but after a few tries i managed to work it out to make the battle feel right

So to the report , the scenario was taken from the liberators! supplement 1 book
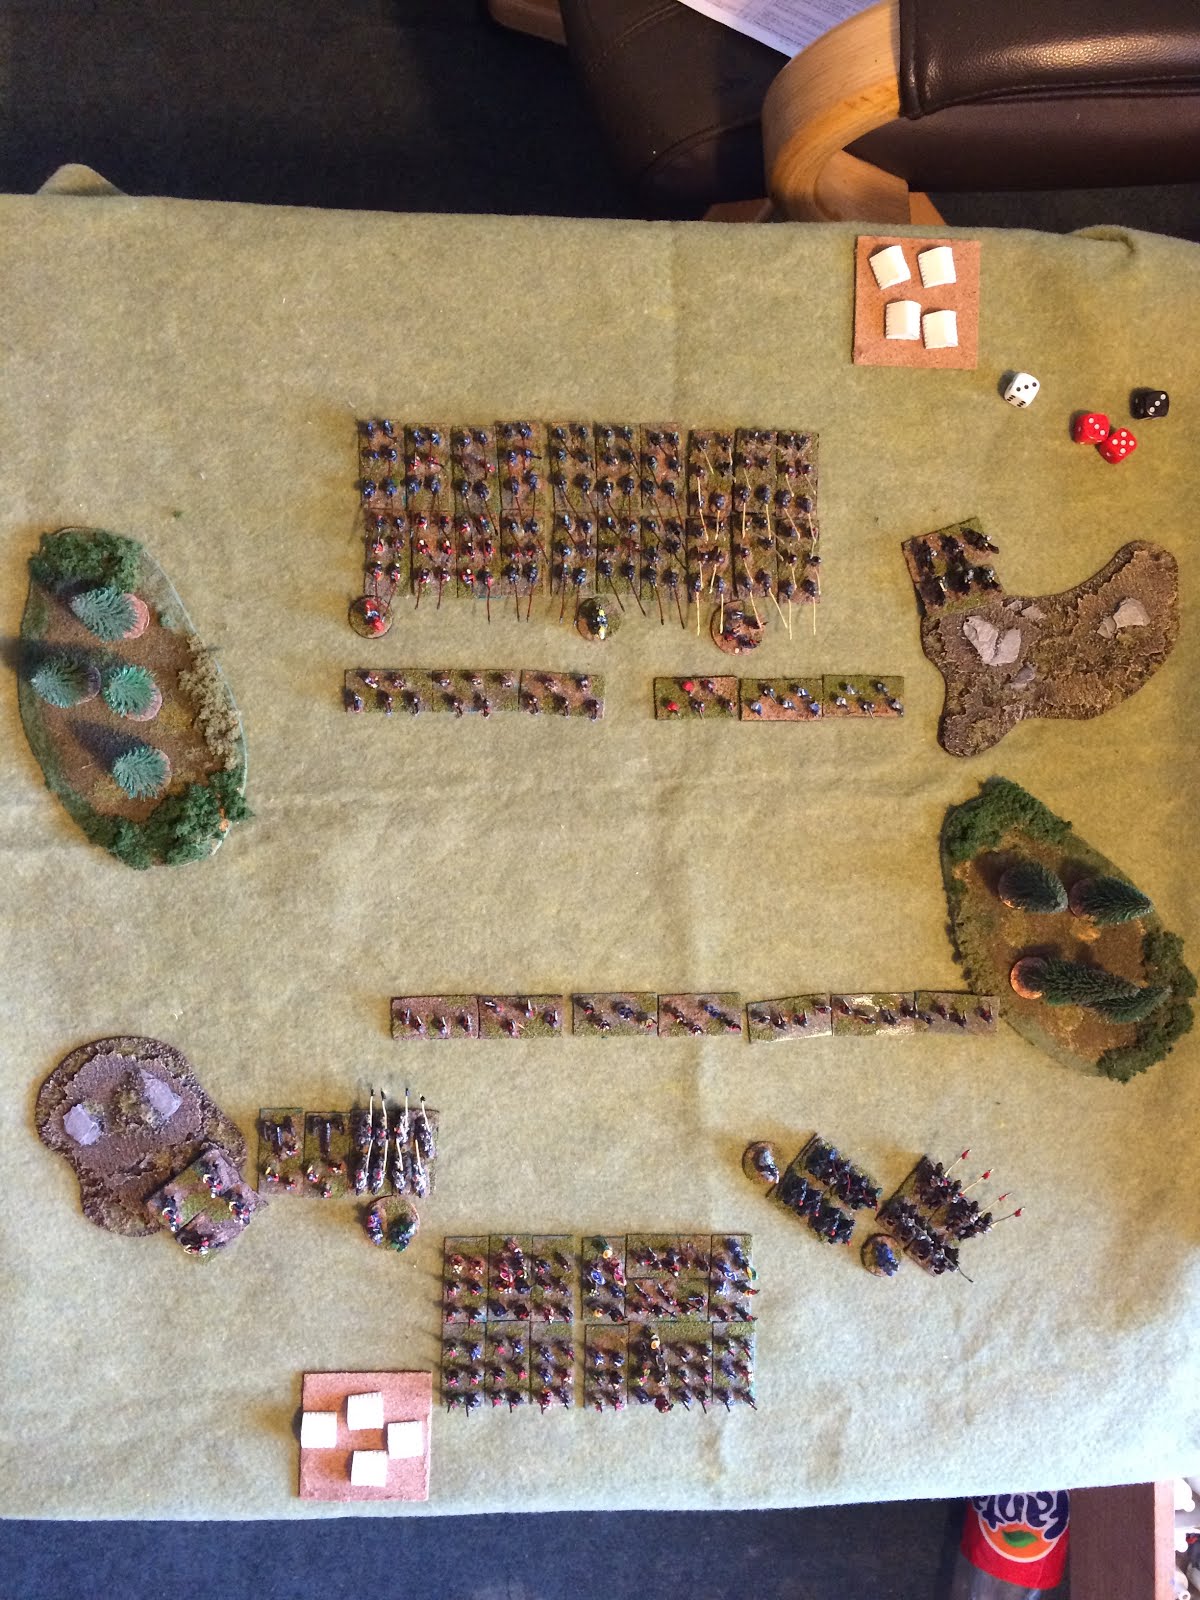
Setup
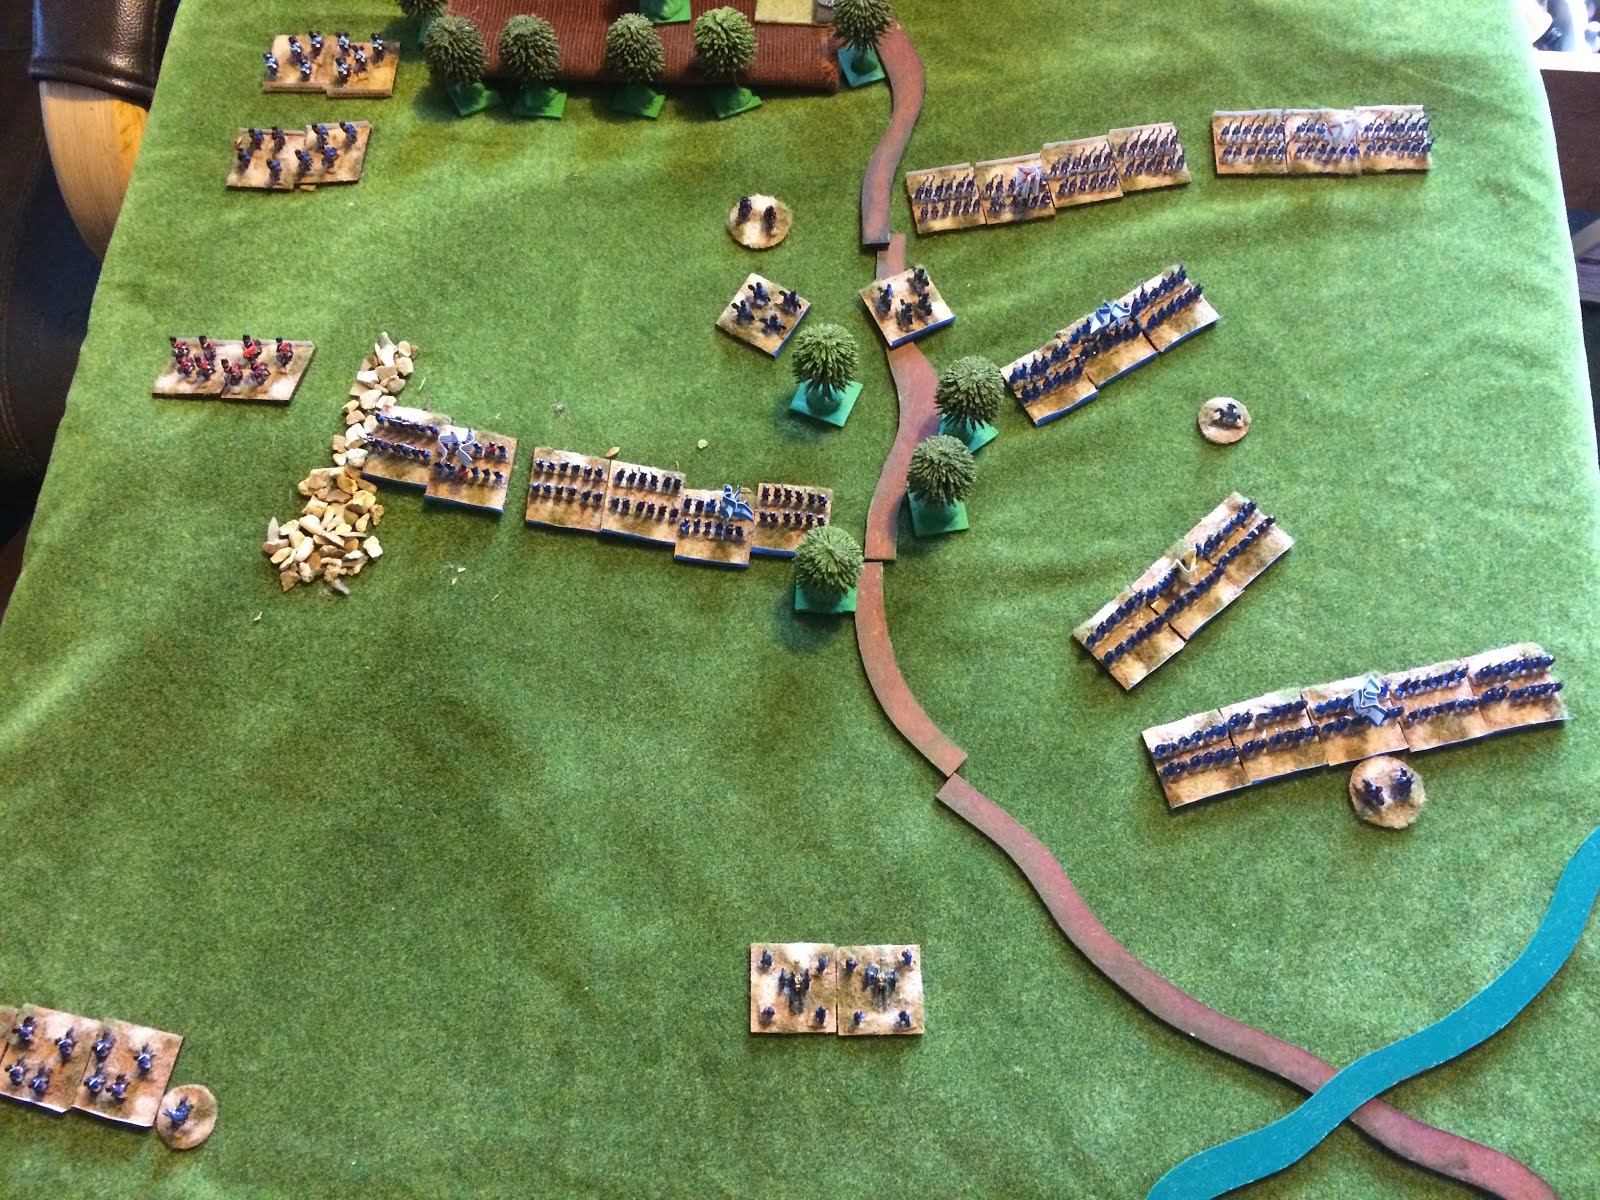
Overhead view and View from the Patriot central position
Turn 1 , the Patriots advance on the right and a brief cavalry charge on the left
Turn 2 , both cavalry units retire to rest and the Patriot infantry advances
Turn 3 , the Royalist army fails to respond , their commander having an off day , the Patriot cavalry on the right charges a unit of light infantry in the woods
Turn 4 , the Patriots take the hill on the left but pull back on the right due to some intensive fire from the Royalist Infantry though the Royalist cavalry thinks better of it an decides to retire
Turn 5, The Patriots push forward
Turn 6 , Whoops a order to charge on the Patriot right results in some confusion in the ranks but the Patriot left continues the advance and with the centre Patriot cavalry bursting through the woods and catching the royalist guns and the remaining Royalist units in the rear
Turn 7, End of game , with the Royalist army now in full rout and the Patriots managing to rally their forces , A win result for the Patriots

Aftermath
the game took a little over 2 hours to fight and i can say that i found the system easy to use and i could not blame the dice this time.
What i did like about the system is that when units were selected on the program it brought up a list of the units names which i prefer as i feel it allows the forces involved to have a little character.

I did try this battle first with carnage and glory 2 however i did find that that system was a little more difficult to use as i had to refer to a unit by number which i felt slowed the game down a little , also i found the range of options a little less than the "Iron duke" set

Saturday 9 January 2016

Battle of Tarvis (1797)

A little known french revolutionary battle in 1797 for which i wrote a set of grand tactical rules based on the RPG set called "fate accelerated" the game was fast and over in about 90 minutes

the link to the battle is here https://en.wikipedia.org/wiki/Battle_of_Tarvis_(1797)

and here are the rules together with the orders of battle for this game

https://dl.dropboxusercontent.com/u/9743716/Fate%20of%20Napoleon.pdf

i was going to use Field of Glory : Napoleonic but after the painting and basing of the Austrians this morning , (yes they were on the table before the varnish had dried , how many of you can say that !) i felt the table may have been a little small and would need to change the game scale a little.

I have had the idea for these rules for a while and this game gave me the opportunity to flesh them out into a little working project

so now the pictures of the game

Setup
The Austrians at the top , all 285 figures ( who says you can't have a large battle on a small table ) are at the top with 375 french at the bottom which by the way was done at a 1:30 figure scale.
Turn 1
Turn 2
The French outflank while the Austrians counter with some aggressive cavalry
A view from the French side
Turn 3
The Austrian Cavalry is beaten back while the rest of the Austrians form up
Turn 4
The French destroy the Austrian Cavalry and advance onto the left Austrian flank , The Austrians drizzle some ineffective artillery fire into the french lines
Turn 5
You may notice that the Austrian grenadiers who were on the austrian left flank have disappeared , well they decided to charge the French right division and due to the grenadiers modifiers being one better than the french the went for it , however it was down to the dice and the grenadiers rolled poorly and got wasted.
Turn 6
The Austrian artillery did manage to do a little damage to the french but not enough as the loss of their 3rd brigade was too much and the army morale collapsed
Final view

Aftermath
It was interesting to use a set of RPG rules to fight a war-game and i thing it turned out well , one thing i think it showed is that if you have divisions in your army it does give you a more flexible use of your army , the rules them selves are simple so if you know how good your army is you should not need to refure to them too much.


Sunday 3 January 2016

Field of Glory : Renaissance First Outing

I have had these rules for a while so for the game this weekend i thought i would give them a go  , well i was pleasantly surprised as to how well they work solo so here is the bat rep , i used the two starter armies , the Swiss vs Holy Roman Empire and use my warmaster 10mm figures which i thought may give some problems as the basing is different but i found that there was relatively few formation changes and i just make the stands lost with little blue dice and the hits caused with little yellow dice.

Anyway here are the pictures

Initial setup
Turn one the advance of the Swiss
Turn Two
Turn Three
The Swiss come off slightly worse in the skirmishing fire
Turn Four
The Swiss Charge the light Imperials
Turn Five
The Swiss continue to advance
Turn Six
Crunch!
Turn Seven
It is not going in favour of the Swiss
Turn Eight
The Swiss rot has started
Turn Nine
This is where i called the game to a close
It would only be a matter of time before the other Swiss pike blocks would disperse.

Aftermath

Well did i enjoy the rules , well it did take me 6 hours to fight this battle but then again i have never played these rules before , on the whole it was ok but i did think the rules a little bland but then again playing with these armies was i expecting anything else , the Swiss did lose due to some poor die rolls  , namely rerolling dice and getting the same scores of 1's.

I have the Ancient set so may give that a go to see if it feel's any different